
As a leading trimmer brand trusted by professionals and home groomers alike, Remington clippers must withstand daily wear-and-tear from all that hair cutting. But even the most rugged, reliable tools act up occasionally and lose power or precision. Before replacing your Remington completely, some basic at-home maintenance can often get even temperamental trimmers back up and humming. Read on for the most common Remington trimmer issues arising from prolonged use and troubleshooting techniques for how to fix Remington trimmer to try at home before heading to the repair shop.
Step-By-Step Guide: How to Fix a Remington Trimmer?
Following are some tips and techniques that you can use to fix a remington trimmer at home:
Investigate Unexpected Power Loss Issues Intermittent power problems represent the most prevalent complaint among aging Remington trimmers. Start the diagnosis of a wavering tool by methodically checking:
1. Battery Charge Levels:
Ensure rechargeable trimmers get fully juiced up overnight or replace the batteries in cordless tools to rule out simple discharge. Defective individual batteries require full swapping out even in newer packs. Test thoroughly after install.
2. Electrical & Charging Connections:
If brand new batteries fail to kick a wireless trimmer back to life, issues likely lurk within the electrical inputs and outputs. Carefully inspect that all cords properly attach into charging bases and removable tool heads click securely into handset sockets when applicable. Wiggle connections to expose debris interfering with contact.3
3. Voltage Settings & Fuses:
Voltage switches should always match the home outlet voltage to prevent overheating damage, although dual-voltage tools adapt worldwide. Integrated fuses help govern current flow if voltages mismatch slightly. Consider replacing suspected blown fuses accordingly before larger issues arise.
4. Forensic Power Checks:
A persistent new battery failure hints at loose internal wiring also causing power loss. But non-electricians should best avoid dismantling sophisticated trimmers due to electrocution risks and warranty voiding. Display “check engine” indicator lights also indicate internal issues needing shop repair.
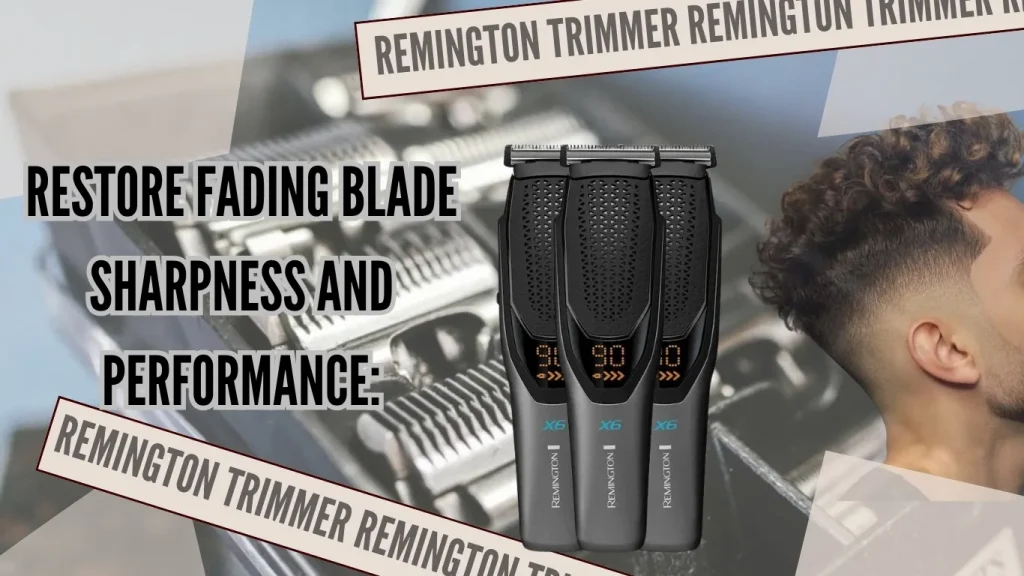
Restore Fading Blade Sharpness and Performance:
The constantly spinning trimmer blade undergoes incredible strain grooming session after session. Friction gradually degrades and dulls the cutting edges after accumulated exposure to hair oils, skin contact, debris buildup, and more over months of use. The most obvious symptom of fading blade sharpness is steadily declining trim quality and control. Gently hone and sharpen aging metal Remington blades using abrasive strips, fine sharpening stones, or precision trimmer sharpeners unless deep nicks show. Severely degraded blades require full replacement for safety and performance.
Ceramic blade models resist sharpening but maintain peak quality for years when cared for properly. To revive dulling ceramic edges, carefully wipe away all residue using rubbing alcohol or mild soap. This clears gunk from the microscopic cutting points along the blade for renewed, crisp trimming.
Unclog Painfully Jammed Blades & Motors:
Just a few wrapped hairs can completely immobilize cutting blades and halt motors mid-trim, often painfully tugging skin or beard hairs too. To clear jams:
Brush away visible debris using included detail brushes, old soft-bristle toothbrushes, or dental picks.
Blow blasts of pressurized air into the blade teeth from multiple angles to wriggle out tangled clumps.
Painstakingly remove stubborn knotted hairs using tweezers when necessary.
Prevent future frustrating mid-trim clogs by tapping trimmers gently to dislodge hairs before storing and cleaning blades and guards thoroughly after every use. Regular oiling maintains mechanical functionality as well.
Conclusion:
Concluding the discussion on how to fix a Remington trimmer. Before discarding a lagging Remington trimmer suite, first rule out easily fixable issues like discharged batteries, various blockages, or dull blades needing basic TLC. Ensure voltage compatibility, wiggle all connections into place, check fuses too, and replace if needed. High-mileage tools benefit most from strategic maintenance, reviving power and performance for extra years. But if all else fails, reliable Remington products often qualify for a free repair assessment or part replacement by contacting customer support. With some thoughtful troubleshooting, well-aged Remington trimmers work like new again!